
You wake up, craving that perfect cup of coffee to kickstart your day. You hit the brew button on your Ninja Coffee Maker, eagerly awaiting the aromatic magic. BUT HOLD ON A SEC! Is your coffee tasting a tad bitter lately?
Has your Ninja Coffee Maker been acting a bit sluggish lately, taking its sweet time to brew your morning pick-me-up? Well, folks, it might just be time to give your coffee-making a cleansing sidekick!
Don’t fret, though. We’re about to make this whole “How to Clean Ninja Coffee Maker” cleaning business a breeze.
This simple guide will explore the whole “How to Clean Ninja Coffee Maker” process step-by-step. No jargon, no complications – just straightforward steps that anyone can follow. Ready?
Why is it Important to Clean Your Ninja Coffee Maker? – How to Clean Ninja Coffee Maker?
Cleaning your Ninja coffee maker isn’t just about maintenance; it’s about unlocking the full potential of your morning ritual. It’s like giving your trusty coffee sidekick a spa day. When your coffee maker is clean, your coffee tastes better – it’s that simple!
But it’s not just about taste. Regular cleaning can extend the life of your appliance. All those mineral deposits, coffee oils, and maybe even a hint of mold that build up over time? Yuck! They can make your coffee maker work harder and wear out faster. And nobody wants that!
So, whether you’re after better-tasting coffee, a longer-lasting machine, or both (who wouldn’t be?), keeping your Ninja coffee maker clean is the way to go.
It’s the secret sauce to brewing excellence, and we’re here to guide you through “how to clean a Ninja coffee maker.”
Read more: How to Use Ninja Coffee Maker – An Ultimate Review 2023
Preparing to Clean Your Ninja Coffee Maker Like a Pro
Before we jump into the cleaning process for “how to clean my Ninja Coffee Maker”, let’s make sure you’ve got your cleaning tools ready:
Tools You’ll Need:
- You can go with a sponge, a dish wand, or even a bottle brush – whatever helps you reach all those nooks and crannies.
- Find yourself a sink or dishwasher. That’s where the cleaning action happens.
- Grab some microfiber towels. They’re perfect for that final shine.
Cleaning Supplies:
- Ninja Coffee Maker Descaling Solution or White Vinegar: These are your heavy-duty cleaners, ready to tackle tough stains.
- Distilled White Vinegar: It’s a natural cleaner that works like a charm.
- A bit of dishwashing liquid: Just a small amount will do.
- Dishwasher detergent: You’ll need this if any parts can go in the dishwasher.
- And don’t forget distilled water – it’s mineral-free and perfect for the job.
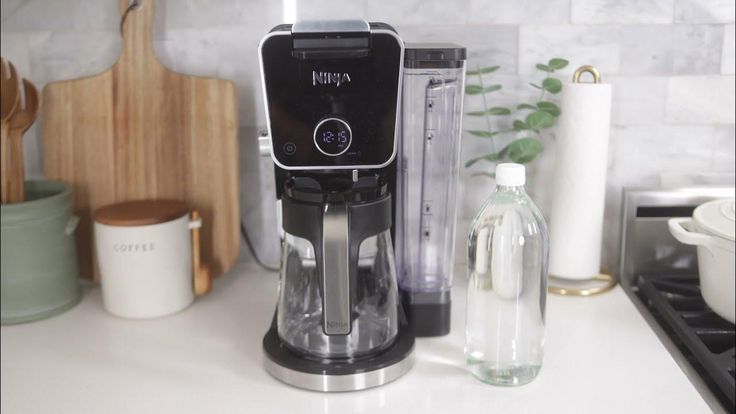
Understanding Your Ninja Coffee Maker Model
Before we start scrubbing away, knowing which Ninja coffee maker model you’re dealing with is crucial. There are a few variations out there, such as the Hot and Cold Brew System, Specialty Coffee Maker, Coffee Bar Brewer, and Single Serve Pod Free Coffee Maker.
Why does this matter? It helps you pick the right cleaning approach, as each model may have unique features and components. So, first, figure out which Ninja coffee maker model you’ve got.
Got it? Great! Now, let’s move forward and clean that Ninja coffee maker like a pro!
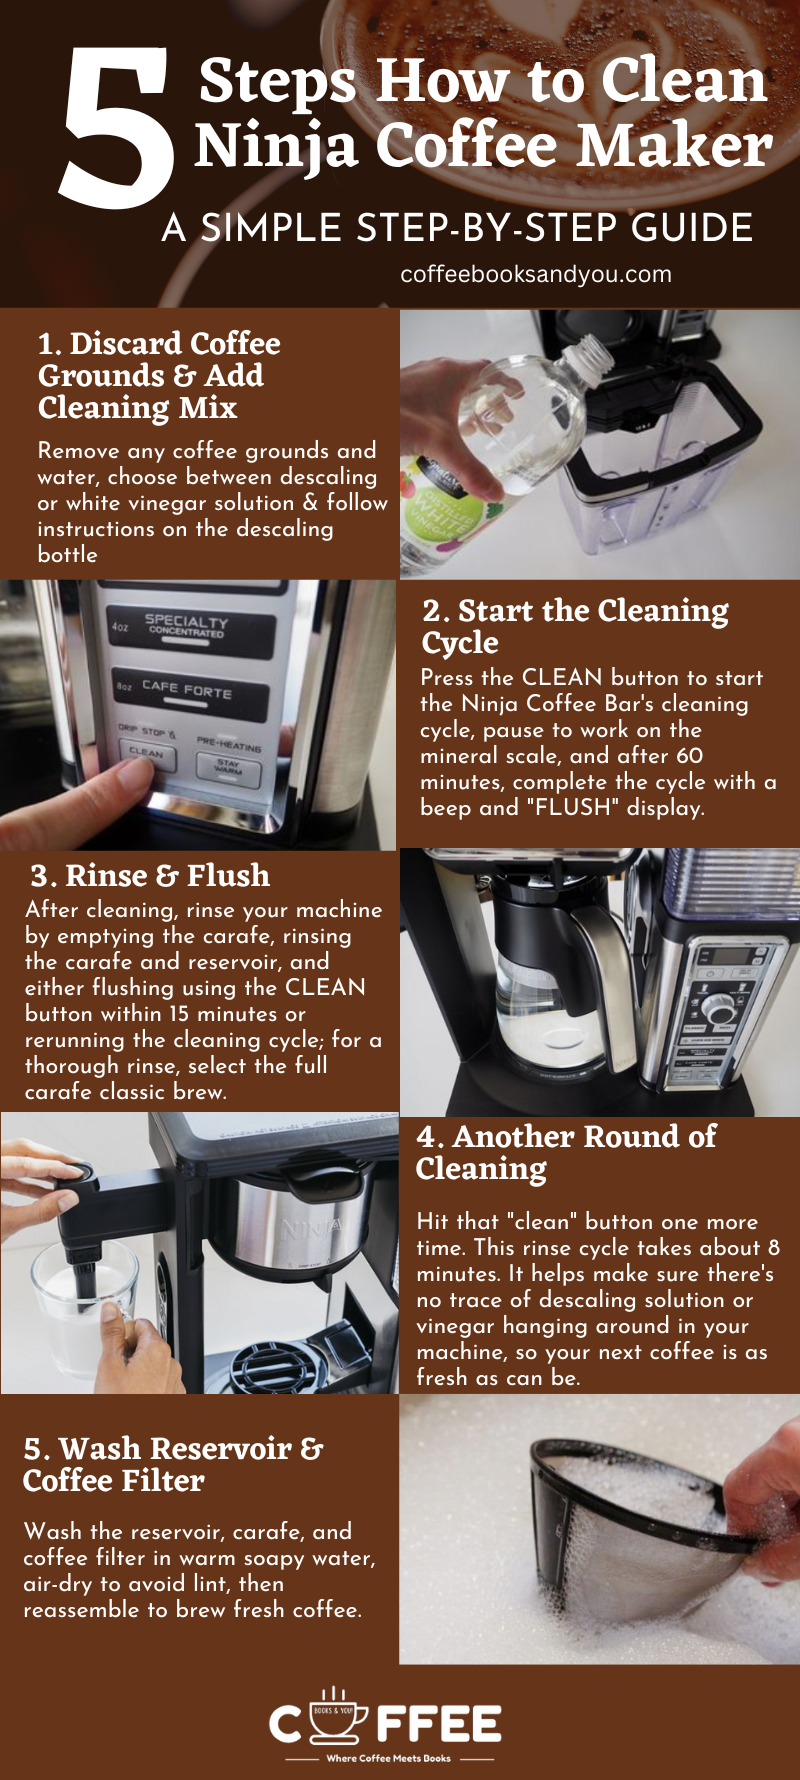
How to Clean Ninja Coffee Maker: Step-by-Step Guide
Now, you’re ready to learn: “How to Clean Ninja Coffee Maker?” We’re talking about the basic steps to make sure it stays in tip-top shape, and your coffee always tastes amazing.
Step 1: Safety First – Power Off and Unplug
Before we start the cleaning process, let’s make sure your coffee maker is taking a break. Power it off and unplug it – safety always comes first!
Step 2: Removing Any Coffee Grounds or Water
Pour out any water left in the reservoir and remove used coffee grounds from the basket. Also, make sure the coffee filter’s basket is spotless before putting it back in the machine.
Step 3: Starting the Clean Cycle
Your Ninja coffee maker is pretty smart. It’ll let you know when it’s time for a clean. Keep an eye out for that “clean” light at the bottom right of your coffee maker.
When you see a little red light under “clean,” it’s time to roll up your sleeves.
Step 4: Add the Cleaning Mix
Now, you’ve got two options here:
- Descaling Solution
- White Vinegar Solution
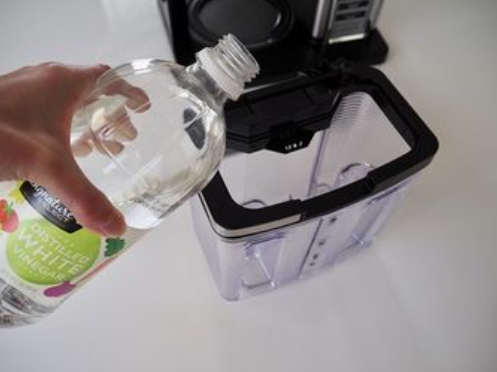
Get yourself some Ninja Coffee Maker descaling solution, or grab some white vinegar from your kitchen.
- Descaling Solution: If you go with the descaling solution, follow the commands on the bottle for the right mix.
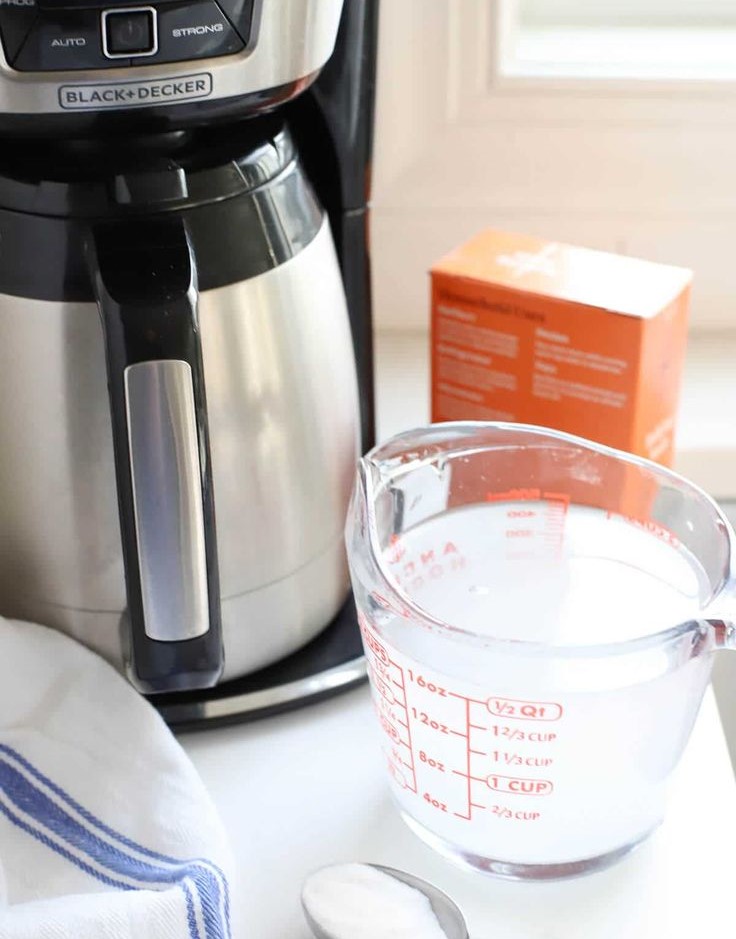
- White Vinegar Solution: If it’s vinegar, fill up your coffee maker’s reservoir to the “Max Fill” line with about 16 fluid ounces of vinegar (that’s about a travel mug’s worth), then add water until you hit “Max Fill.”
Step 5: Ready for Cleaning Action
It’s time to get your coffee maker set up for the cleaning show. Turn the dial on your coffee maker to the “Full Carafe” size.
Now, make sure you’ve got your carafe in place under the brew basket – we don’t want any messes!
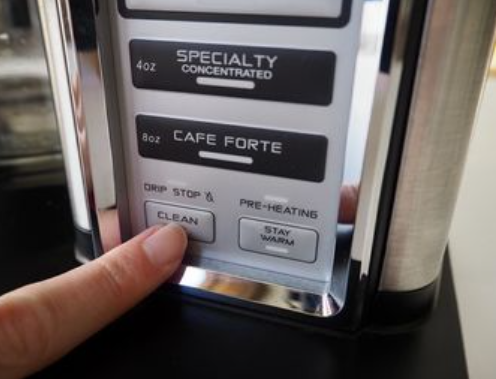
Step 6: Let’s Clean: How To Use Clean Cycle On Ninja Coffee Maker
Press that “clean” button, and watch the magic happen. You’ll see “CLN” and a countdown timer on the clock display. While it’s doing its thing, don’t mess with any other buttons.
A typical clean cycle takes around an hour, but it might vary a bit depending on your specific model.
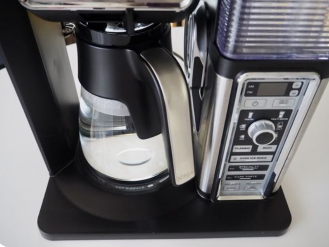
Flushing Your Ninja Coffee Maker with Water
Step 1: Empty the Carafe
When the clean cycle wraps up, you’ll see a flashing light and “Flush” on the display. Carefully pour out the hot liquid from the carafe into your sink. It’s as hot as freshly brewed coffee, so handle it with care!
Step 2: Refill and Go Again
Put that empty carafe back under the brew basket. Now, fill up the reservoir to “Max Fill” with plain tap water – no descaling solution or vinegar is needed this time.
Step 3: Another Round of Cleaning
Hit that “clean” button one more time. This rinse cycle takes about 8 minutes. It helps make sure there’s no trace of descaling solution or vinegar hanging around in your machine, so your next coffee is as fresh as can be.
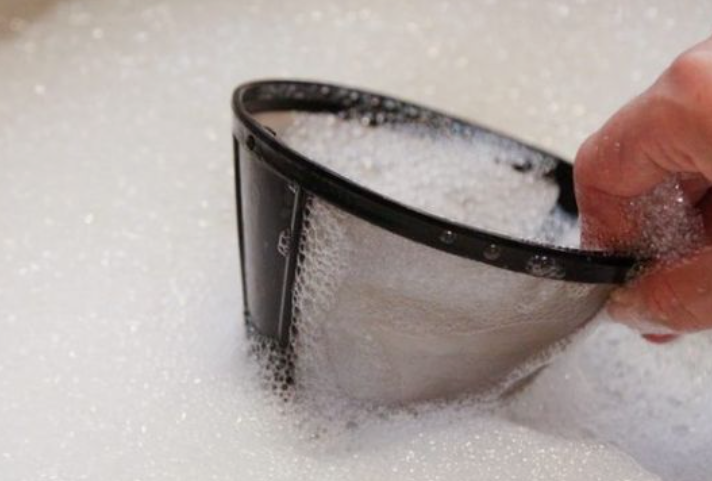
Step 4: Cleaning the Reservoir and Coffee Filter
Clean the reservoir, carafe, and coffee filter by washing them in warm soapy water. After washing, allow them to air dry on the countertop, avoiding using a cloth that may leave lint on the parts.
Once they are completely dry, reassemble them in your coffee maker. Your machine is now prepared for brewing a fresh cup of coffee.
And there you have it, folks – the lowdown for “How to Clean Ninja Coffee Maker” and keeping your Ninja Coffee Maker in tip-top shape. Your coffee will thank you for it!
So, this is how to clean the ninja coffee maker – real quick and easy.
White Vinegar Solution Vs. A Descaling Solution – How to Clean Ninja Coffee Maker
After learning “How to Clean a Ninja Coffee Maker,” you might be wondering which option to choose: a white vinegar solution or a descaling solution.
Use White Vinegar Solution – The Simplest and Fastest Way
Vinegar, the unsung hero of cleaning, is not only affordable but also a powerhouse when it comes to cleaning your Ninja coffee maker. Plus, it’s all-natural, which is a bonus for those who prefer eco-friendly options.
How To Clean Ninja Coffee Maker With Vinegar
Here’s the nitty-gritty on how to clean Ninja coffee maker with white vinegar:
- Empty Out Your Coffee Machine: Before you dive into the cleaning process, make sure your coffee maker is free of any leftover coffee grounds or water.
- Add the Vinegar Solution: Now, it’s time to introduce the magic of white vinegar. Now, you might be wondering, “How much vinegar to clean Ninja coffee maker?” Here’s the quick answer: Add 2 cups (16 ounces) of distilled white vinegar to the empty water reservoir. Once the vinegar is in, simply fill the water reservoir with distilled water up to the Full line.
- Push the Correct Button: Look for the ‘clean’ button on your coffee maker and give it a tap. Let it run for about a minute, then press the same button again to pause.
- Let It Sit and Brew: Allow your coffee maker to sit like this for roughly 30 minutes to an hour. Then, press the ‘clean’ button once more and let it complete the cleaning cycle, which usually takes around 60 minutes. The clean light should turn off automatically when it’s done.
- Do a Little Scrubbing: While your coffee maker is doing its thing, don’t just stand there – wash the carafe and give the mesh filter brew basket and reservoir some attention. Use a brush to mildly scrub the filter holder, filter basket, and water reservoir.
- Rinse Everything Properly: Rinse the reservoir once more with clean water, then push the ‘clean’ button for another 5 minutes or so to run a final self-clean cycle. After this thorough rinse, you’re all set.
And voila! That’s How to clean Ninja Coffee Maker with white vinegar with ease.

Descaling Solution
On the other hand, if you’re looking for a commercial solution, Ninja descaling products are readily available. These solutions are designed to remove mineral buildup and impurities that can sneak into your coffee maker over time.
Using a Descaling Solution
If you prefer a commercial descaling solution, here’s how to go about it:
- Empty Your Coffee Maker: Ensure your coffee maker is completely free of any leftover coffee or water – it should be squeaky clean.
- Assemble the Coffee Maker: Make sure all components, like the water tank and carafe, are in their rightful places. For the best results, run the machine with a full carafe setting.
- Pour the Descaling Solution: Take your descaling solution and dispense it into the water chamber. Dilute it by adding more water, following the instructions provided with the descaling bottle.
- Soak the Coffee Maker Parts: To complete the descaling process, let the coffee maker parts soak in the solution for a few hours.
- Press the Clean Button – How To Use The Clean Button On Ninja Coffee Maker: If your machine has a ‘clean button’, press it and wait for the flush cycle to finish, eliminating any descaling solution residues. If your machine lacks this feature, simply fill it with fresh water and run a rinse-cleaning cycle.
- Rinse Everything Thoroughly: Remove the carafe and water reservoir, clean them with warm water, and give everything a thorough rinse.
There you have it! Whether you prefer the natural cleansing powers of white vinegar or a commercial descaling solution, your Ninja Coffee Maker will be primed and ready to brew your favorite cup of joe.
How Often to Clean Ninja Coffee Maker
Cleaning your Ninja Coffee Maker doesn’t have to be a big chore. In fact, it only takes about 10 minutes, and it makes a big difference in how your coffee tastes. Here’s How Often to Clean Ninja Coffee Maker:
After Every Use:
- Remove and throw away the coffee grounds or pod.
- Rinse and wash the carafe, reusable filter, and milk frother whisk with warm, soapy water.
Weekly:
Empty and wash the water reservoir with warm, soapy water. You can also put it in the dishwasher if you prefer.
Regular Descaling:
It’s essential to descale your coffee maker regularly to get rid of minerals and coffee oils that can affect your coffee taste.
The good news is that Ninja Coffee Makers like the Ninja® Specialty Coffee Maker and the Ninja® DualBrew Pro Specialty System have indicators that tell you when it’s time to clean and descale.
When the CLEAN light comes on, it’s time to give your Ninja coffee maker a thorough cleaning, including descaling. You should do this about once a week.
For the best performance, make sure to descale your Ninja Coffee Maker at least every three months. And if you’re using coffee pods, don’t forget to clean the pod adapter and brew basket after each use.
How To Clean Ninja Coffee Maker Water Reservoir?
Washing the water reservoir of your Ninja Coffee Maker is a breeze. Here’s a simple step-by-step guide for ‘How To Clean Ninja Coffee Maker Water Reservoir”
What You’ll Need:
- Warm, soapy water
- A soft sponge or cloth
Step 1: Unplug the Coffee Maker
Before you start cleaning, always unplug your Ninja Coffee Maker to ensure safety.
Step 2: Remove the Water Reservoir
Gently lift the water reservoir from the coffee maker. It’s usually located at the back or side of the machine, depending on your Ninja model.
Step 3: Empty and Dispose of Any Remaining Water
Pour out any water left in the reservoir into the sink. You can also remove the water filter if your Ninja Coffee Maker has one and set it aside.
Step 4: Wash with Soapy Water
Using warm and soapy water and a soft cloth or sponge, give the inside and outside of the water reservoir a good scrub. Pay attention to any nooks and crannies where water might accumulate.
Step 5: Rinse Thoroughly
Once you’ve cleaned the reservoir, rinse it thoroughly with warm water to get rid of any soap residue.
Step 6: Air Dry
Place the clean water reservoir on a clean, dry towel or dish rack to air dry completely. Make sure it’s completely dry before putting it back into your coffee maker.
Step 7: Reassemble
After it’s dried, reassemble the water reservoir back into your Ninja Coffee Maker.
That’s it! You’ve successfully cleaned your Ninja Coffee Maker’s water reservoir. Remember, regular cleaning helps maintain the quality of your coffee and keeps your coffee machine running smoothly.
Read more: How Many Scoops of Coffee for 8 Cups? – Your Perfect Cup of Coffee
How to Clean Your Ninja Coffee Maker without Vinegar
Cleaning your Ninja Coffee Maker without vinegar is a snap, and you can do it using a simple baking soda solution. Here’s a step-by-step guide for “How to Clean Your Ninja Coffee Maker Without Vinegar.”
What You’ll Need:
- Baking soda
- Lukewarm water
- Dish soap
- A soft sponge or cloth
Cleaning Process
Step 1: Unplug the Coffee Maker
Safety first! Always unplug your Ninja Coffee Maker before cleaning.
Step 2: Remove and Wash Removable Parts
Take out all removable parts, such as the carafe, brew basket, and water reservoir. Wash them with warm, soapy water, and rinse thoroughly. Set them aside to air dry.
Step 3: Prepare the Baking Soda Solution
Mix one cup of fresh water with a quarter cup of baking soda in a mixing bowl. Mix them until you have a solution.
Step 4: Fill the Water Reservoir
Add the baking soda solution to the water reservoir of your coffee maker. Ensure it’s evenly distributed.
Step 5: Run Multiple Brewing Cycles
Run between 3-5 brewing cycles without adding any coffee grounds to the machine. This will allow the baking soda solution to clean the interior parts of your coffee maker.
Step 6: Rinse the Coffee Pot
Once the brewing cycles are finished, remove the coffee pot and thoroughly rinse to remove any baking soda residue.
Step 7: Wash the Coffee Pot
Wash the coffee pot with dish soap and warm water. Make sure it’s clean inside and out, and then rinse it thoroughly.
Step 8: Reassemble and Dry
After everything is clean and dry, reassemble your Ninja Coffee Maker with the freshly cleaned parts.
There you go! Your Ninja Coffee Maker should be clean and ready to brew without the strong smell of vinegar. Using baking soda is an effective and odor-free way to keep your coffee maker in tip-top shape.
Read more: Before The Coffee Gets Cold Series Summary
How to Clean Ninja 12-Cup Coffee Maker
What You’ll Need:
- Warm, soapy water
- Soft sponge or cloth
- Dish soap
Cleaning Steps For How to Clean Ninja 12-Cup Coffee Maker:
- Unplug the coffee maker.
- Remove and wash removable parts: carafe, brew basket, water reservoir.
- Clean the exterior with a damp cloth.
- For stubborn carafe stains, use a mixture of warm water and baking soda.
- Clean the water reservoir with warm, soapy water.
- Wipe down the coffee maker base and heating plate.
- Reassemble all parts once they’re dry.
- Run a water-only brew cycle to flush out any residue.
- Enjoy fresh coffee with your clean Ninja 12-cup coffee maker.
How to Clean Ninja Specialty Coffee Maker
Here’s a step-by-step guide for how to clean Ninja Specialty coffee maker:
After Every Brew:
- Remove and discard the paper filter and grounds after brewing.
- If you use a permanent filter, empty the grounds and wash it with warm, soapy water.
- Wash the milk frother whisk in warm, soapy water or in the dishwasher’s top rack after each use.
- Use a bottle brush or sponge to wash the carafe and lid with warm water.
- The glass carafe, lid, permanent filter, removable filter holder, water reservoir flip-top lid, frother whisk, and scoop are all dishwasher top-rack safe. The taller water reservoir can go on the dishwasher’s bottom rack.
Weekly Cleaning:
- Empty the water reservoir and wash it with warm, soapy water or place it in the dishwasher (bottom rack, opening facing down).
- If you haven’t cleaned the carafe after every brew, wash it well to remove coffee oils.
- Wipe down the main unit with a damp microfiber cloth to remove splatters.
- Never fully immerse the coffee maker in water to avoid damage.
Descaling the Coffee Maker:
- When the CLEAN button lights up, it’s time to descale.
- Select Full Carafe size and put the carafe in place.
- Add 2 cups (16 ounces) of distilled white vinegar to the empty water reservoir, then fill to the Max Fill line with distilled water.
- Press the CLEAN button. The cleaning cycle takes about 60 minutes, ending when the CLEAN light goes off.
- Empty the carafe and place it back under the brew basket.
- Fill the water reservoir to the Max Fill line with distilled water and run a Full Carafe brew cycle.
- After the cycle, wash the carafe in warm, soapy water and rinse before brewing fresh coffee.

How to Clean Ninja Dual Brew Coffee Maker
Cleaning your Ninja DualBrew Coffee System is easy. Here are the steps for both “how to clean Ninja Dual Brew coffee maker” and “how to clean Ninja hot and cold coffee maker”:
Daily Cleaning:
Follow the same cleaning steps as the Ninja Specialty Coffee Maker after every brew.
If Using Pods:
Hand wash the pod adapter and brew basket with warm, soapy water. The pod adapter isn’t dishwasher safe.
Weekly Cleaning:
- Open the top hinged hood and remove the sliding lid. Hand wash the sliding lid and slide it back into place.
- Open the handle to access the needles and pod holder. Hand-wash them with warm, soapy water. Be careful around the needles.
- Clean the carafe, water reservoir, and outer surfaces as directed in the Specialty Coffee Maker instructions
Descaling:
- The Intelligent Clean Cycle Indicator will signal when descaling is needed. Follow these steps:
- Place the carafe.
- Add 2 cups (16 ounces) of distilled white vinegar to the empty water reservoir and fill to the Full line with distilled water.
- Press the CLEAN button, then START BREW. The cycle takes about 75 minutes and ends when the unit beeps, shows END on the clock, and the CLEAN light goes off.
- Empty the carafe and place it back under the brew basket.
- Fill the reservoir to the Full line with distilled water:
- For Grounds mode, run a Full Carafe Classic brew cycle.
- For Pods mode, run a 12-ounce Classic brew.
- For Hot Water mode, run a Full Carafe on BOIL.
- After the cycle, discard the water and clean the carafe and brew basket with warm, soapy water. Rinse well, and reassemble.
Tips To Clean Your Ninja Coffee Maker
We’ve got some handy tips and tricks to help you along the way with “How to Clean Ninja Coffee Maker.”
1. Clean Milk Frother
First things first that milk frother deserves some love after every use. Grab a cup, fill it halfway with warm water, and hover it over the milk frother so it’s submerged. Now, flick the switch and let it run for about 20-30 seconds. That’ll keep it squeaky clean.
2. Deep Clean Milk Frother
Every now and then, give your milk frother a deep clean. Unlock it, slide it off your coffee maker, and give it a good wash in the sink with some soapy water. It’s like a mini spa day for your frother.
3. Clean the Carafe
Now, if your carafe’s looking a little dingy from all that brewed goodness, here’s a neat trick. Fill it up with ice and sprinkle some salt and lemon juice over the ice. Let it sit overnight, and in the morning, give it a good scrub with warm water and dish soap. Voilà, it’s as good as new.
4. Use Lemon Juice Instead of Vinegar
Not a fan of that vinegar smell when cleaning? No worries, switch it up and use lemon juice. Just follow the same steps as you would with vinegar. Lemon juice is not only more pleasant to the nose, but it won’t leave any funky taste behind, so a couple of rinses will do the trick.
5. Wash After Every Use
Remember, after every coffee session, it’s time for a little cleanup. Wash the removable bits – your carafe, frothing whisk, brew-through lid, coffee scoop, and water reservoir – in some soapy water. Then, grab a damp cloth and give the rest of your machine a wipe-down. We want those coffee oils outta there to keep your brew from going bitter.
Now, here are some quick-fire tips:
- Clean all the removable parts, like the frother whisk and brew basket, after each use.
- Descaling? Use a mix of soap and warm water every three months.
- To get rid of any soap or vinegar residue, run two brew cycles without coffee grounds.
- And when you’re not using your Ninja Coffee Maker, store it in a cool, dry spot away from direct sunlight.
Troubleshooting Common Problems When Cleaning Your Ninja Coffee Maker
If you encounter any difficulties while cleaning your Ninja Coffee Maker, here are some helpful troubleshooting suggestions:
- Ensure that all detachable components have been cleaned and thoroughly dried.
- Verify that the water reservoir is filled with fresh water before each brewing cycle.
- Double-check for any lingering coffee grounds in the brew basket or carafe.
- Make sure you use a combination of soap and warm water to descale your machine every three months.
By adhering to these simple steps, you can address cleaning issues with your Ninja Coffee Maker and swiftly resume savoring your favorite coffee.
Read more: Logging 10000 Years into the Future Chapter – Brief Summary in English
So, Sip, Savor, and Shine with Our Simple Ninja Coffee Maker Cleaning Guide!
In conclusion, keeping your Ninja Coffee Maker clean is as easy as brewing your favorite cup of coffee. With our simple step-by-step guide, you can ensure that every sip you take is a flavorful delight. Regular cleaning not only guarantees the best-tasting coffee but also prolongs the life of your beloved coffee maker. So, embrace the routine, make it a habit, and your Ninja Coffee Maker will reward you with cup after cup of pure perfection.
With cleanliness on your side, you’re all set to savor that rich aroma and the satisfying warmth of your morning brew. Here’s to many more delightful coffee moments in 2023 and beyond!
“Check out Coffeebooksandyou for awesome coffee and book content, and enjoy your favorite cup of coffee with a nostalgic book. Keep Brewing the Magic!”